About This Recipe
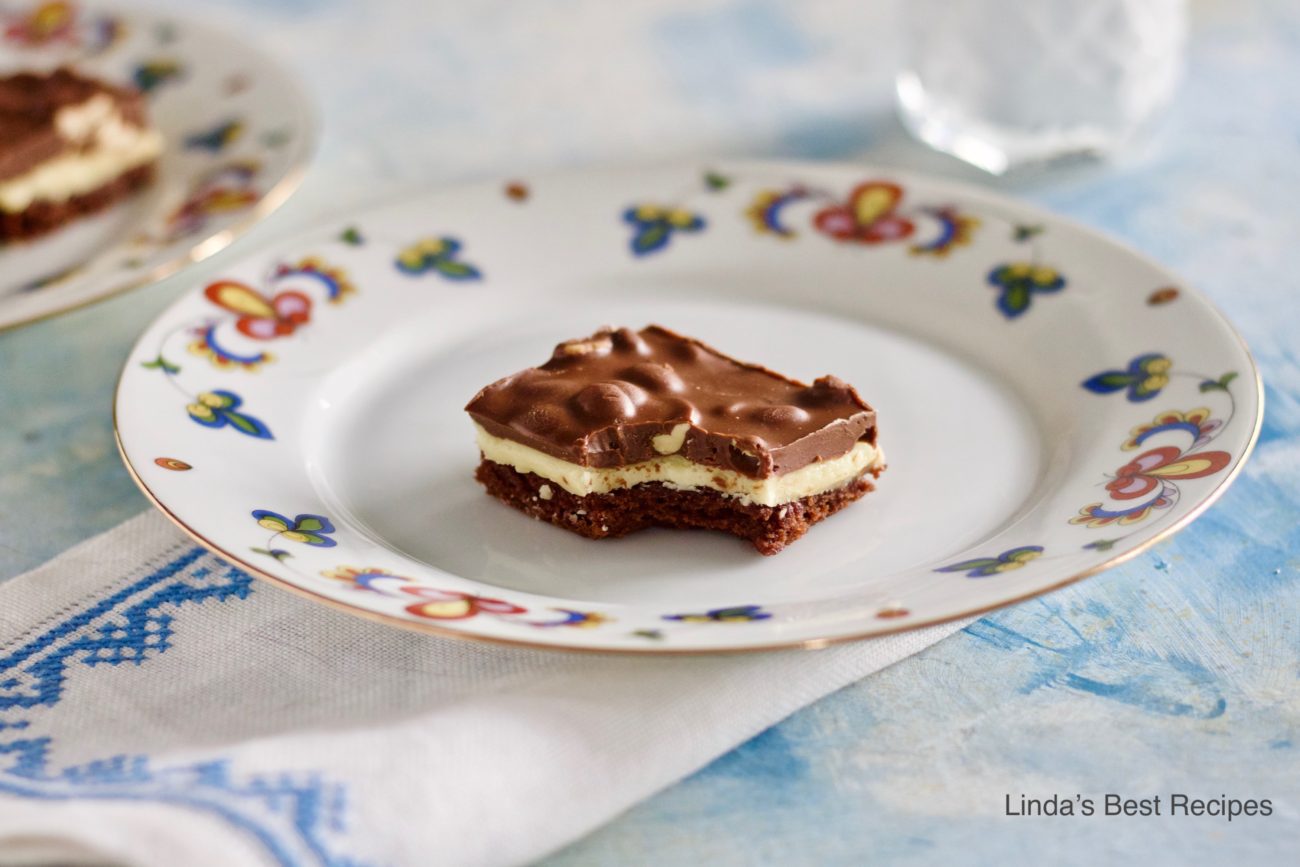
Okay, I consider this recipe a breakthrough. Nut Goodie Brownies is a mashup of two of my very best recipes of all time.
I have always loved Nut Goodie candies. You know, those chocolate and peanut blobs that have a velvety and creamy maple center. The commercially made candies are wonderful. And the homemade version is even better.
But there have always been problems with the homemade candy – it melts all over your hands as you eat it. Some people may not mind it, but it’s always bothered me.
So I thought – why not put some kind of crust on the bottom, then add the fabulous filling and chocolate – peanut butter – peanut topping?
Well.
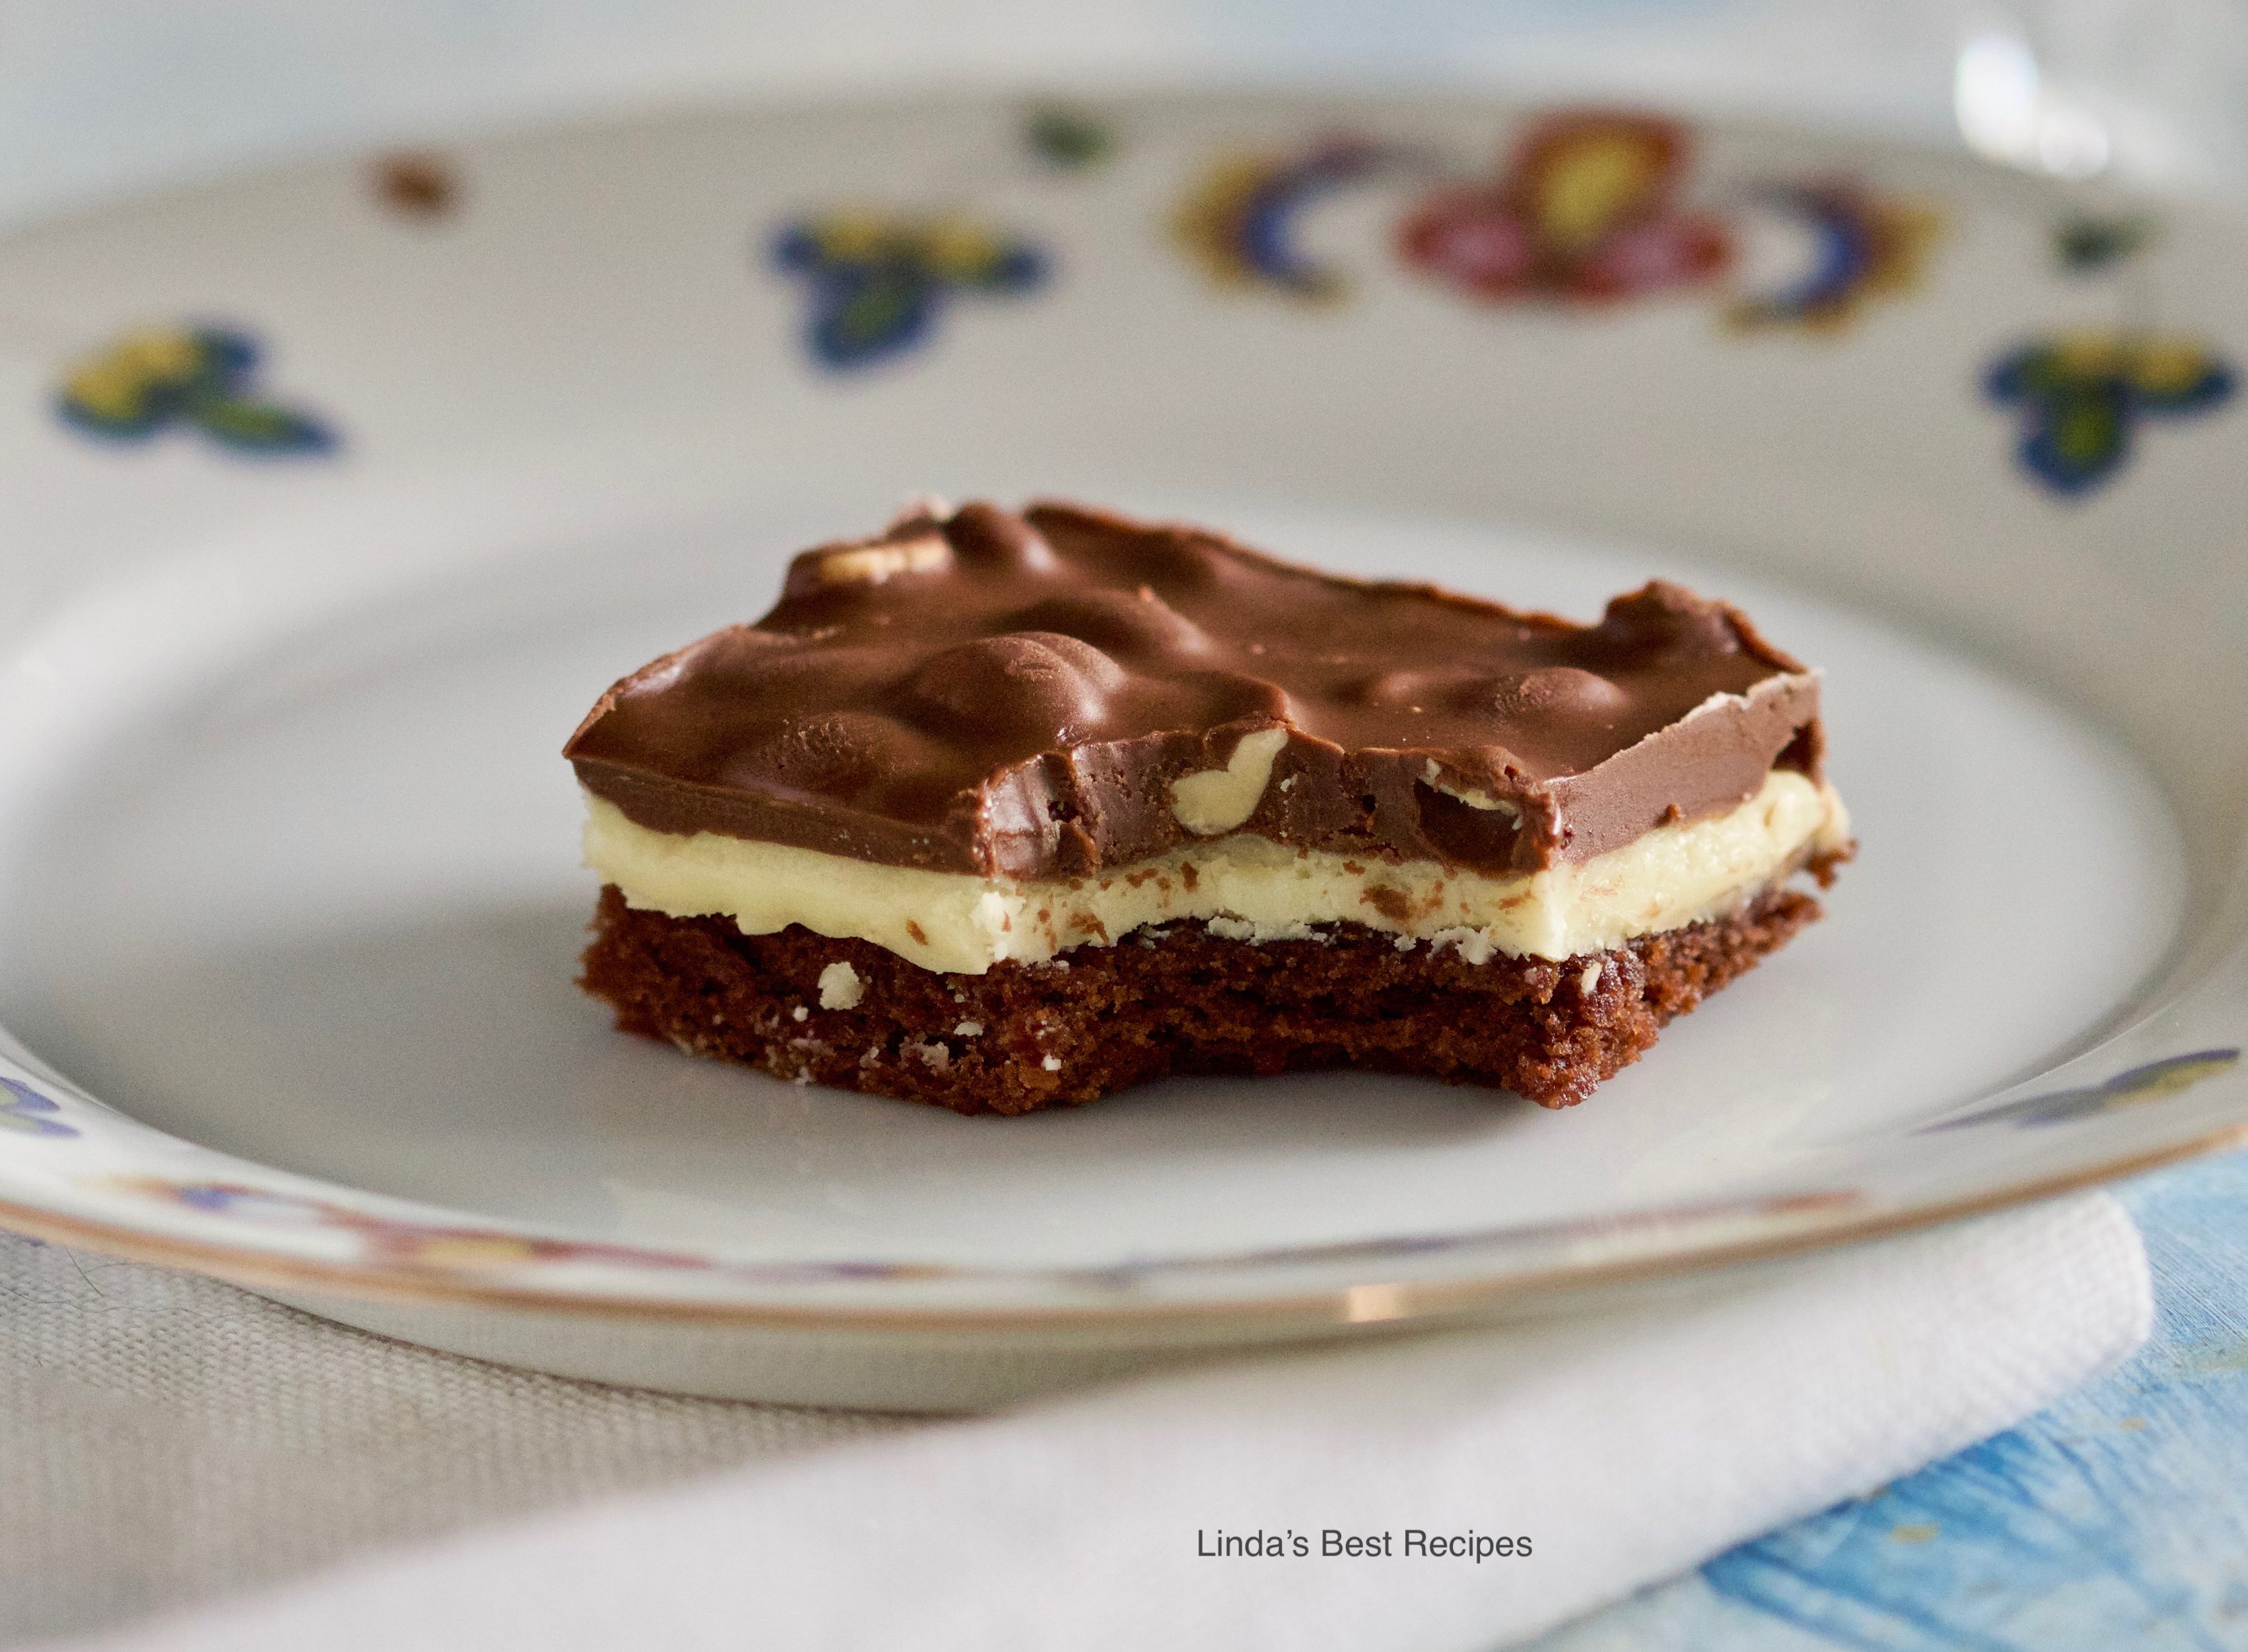 What a success. This bar/candy bar/cookie thing is just superb. You just have to make it! This recipe has actually solicited marriage proposals. I kid you not!
I did learn one thing, though. You have to let it stand overnight in the fridge. A few hours won’t cut it, and here’s why: The brownie, which is very thin, will come out of the oven dry no matter how short the baking time. The filling is made with a little more liquid than other Nut Goodie recipes, for a good reason: the brownie will absorb liquid from the filling as it stands. And the filing dries out a bit to make the perfect texture.
So make this the night before you want to devour it. And then dig in. Waiting is good for you.
Tips for the best Nut Goodie Brownies:
- Be very careful to not overbake the brownie. It will be dry, but it should not be hard or the recipe won’t work. The brownie layer is quite thin and is easy to overbake. Check it at thee earliest time.
- Make sure you give the recipe time to sit so the brownie will absorb moisture from the creamy filling.
Why this recipe works:
- The thin brownie base is going to be dry no matter how short the baking time. The brownie absorbs moisture from the creamy filling as it sits. So the brownie will be the perfect texture, while the creamy filling firms up.
- The combination of chocolate melted with peanut butter is smooth and suave. The peanut butter mellows the chocolate and creates the perfect soft but firm consistency.
Steps
|
1
Done
|
Preheat the oven to 350°F. Spray a 15" x 10" jelly roll pan with nonstick baking spray containing flour. |
|
2
Done
|
In a large bowl, combine the brownie mix, oil, water, egg, and egg yolk and mix. Beat for 30 strokes. Spoon and spread into the prepared pan. |
|
3
Done
|
Bake for 8 to 14 minutes or until the brownie is just set. Cool on a wire rack. |
|
4
Done
|
To make the filling, combine 1 cup butter, cream, and the pudding mix in a large saucepan. Cook over medium heat, stirring with a wire whisk, until the mixture thickens. Do not let it boil. |
|
5
Done
|
Take the saucepan off the heat. You need a hand mixer for this step: beat in the vanilla, then beat in the powdered sugar, 1 cup at a time, until smooth. |
|
6
Done
|
By this time, the brownie will have cooled since it is so thin. Spoon and spread the pudding mixture over the brownie and put in the fridge. |
|
7
Done
|
Now make the topping. Melt the semisweet chocolate chips, milk chocolate chips, peanut butter, and 1/4 cup butter together. You can do this in a saucepan on the stovetop over low heat, or melt in the microwave. Stir until smooth, then stir in the peanuts. |
|
8
Done
|
Carefully spoon and spread the chocolate mixture over the pudding mixture. Now cover and refrigerate overnight before you cut the bars into squares and enjoy the praise. |

